Welcome to India’s first Sound Kits Marketplace! This guide will help you learn how to upload your Sound Kits easily and correctly so buyers can discover and purchase your work without any issues. Let’s get started.
Sign In & Navigate to Upload
Log in to your Beat22 account.
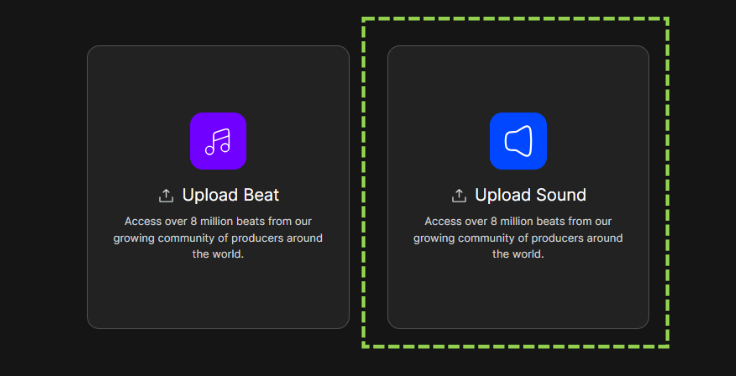
Click on Upload which you can see at top right of your screen.

Select Upload Sound to begin adding your sound kit.
Once you click it, you will see 4 sections on the left panel:


Kit Type
Metadata
Upload Files
Licensing
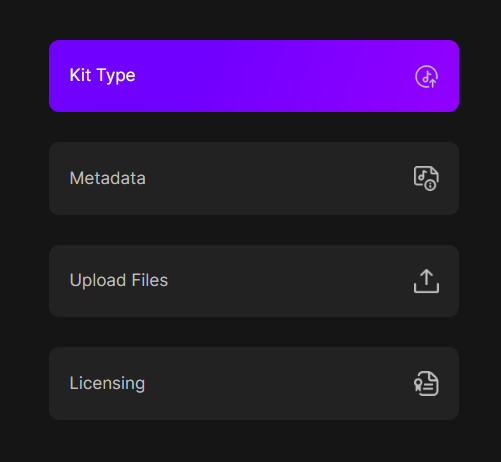

We’ll guide you through each one.
Section 1: Kit Type
This is the starting step. ✔ Select Your Pack Type Choose the type of sound kit you are uploading from the available options (e.g., Melody Loops, One Shots, Vocal Loops, Drum Loops, etc.). ✔ Confirm Ownership Tick the checkbox: “I confirm that it is my original work.” This is mandatory. After that, click Next.

Section 2: Metadata
Here you will add all details about your sound kit. ✔ Upload Cover Image Add a clean, professional cover image that represents your sound kit. ✔ Add Title Give your soundkit a clear and catchy title. ✔ Add Tags You can add up to 5 tags. Choose tags that best describe your sound, genre, mood, instrument, etc. ✔ Description Tell buyers what they can expect inside your sound kit.

Elements Included This part describes the contents of your pack. You will see options like:
Instrumental Loops
Select the instrument (e.g., Guitar, Flute, Piano)
Add the number of files for that instrument
Vocal Loops
Select the language (Hindi, Punjabi, English, etc.)
Add the number of vocal files
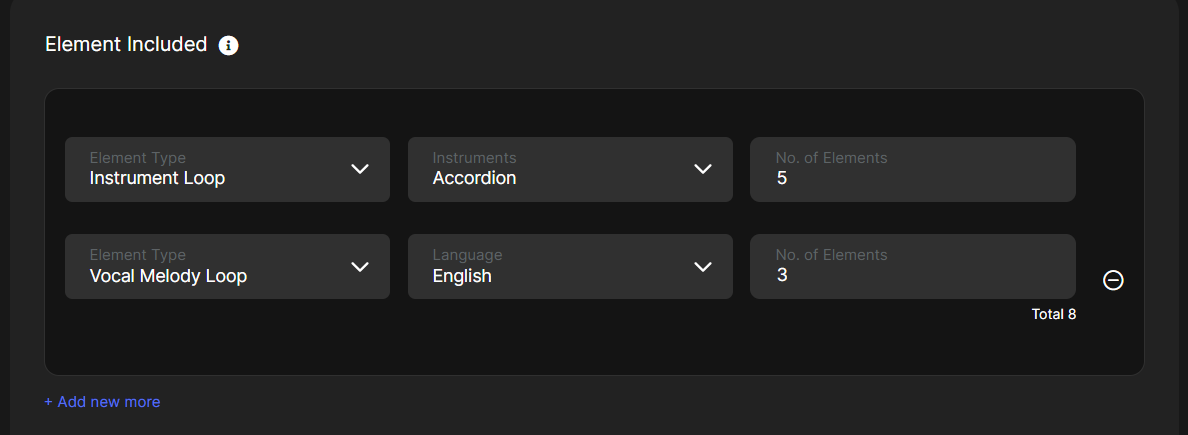

Add every type of element included in your soundkit accurately. Meta Data Fill in all required metadata:
BPM
Genre
Moods
Scale
These help buyers find your sound kit easily.

Once done, click Next.
Section 3: Upload Files
This is where you add all your actual audio files. ✔ Create a ZIP File
Put all your sound files inside one folder.
Convert the folder into one ZIP file.
Upload the ZIP file here.
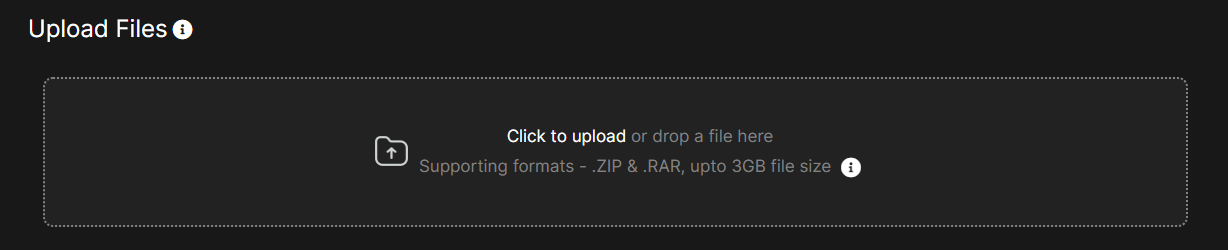

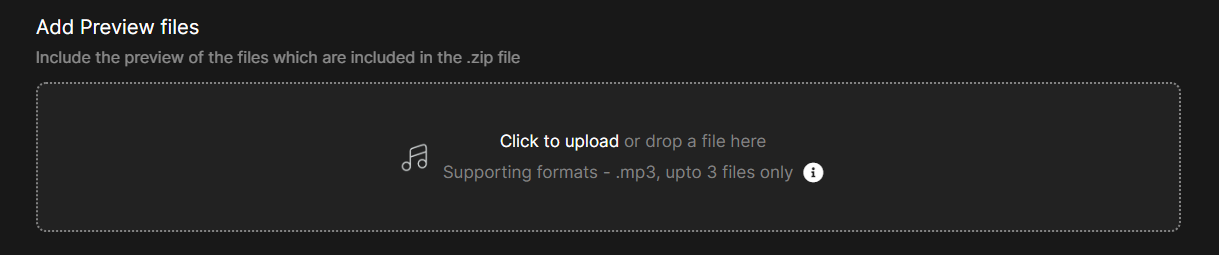
✔ Add Preview Files You can upload up to 3 preview files in MP3 format. Use previews to showcase the best parts of your sound kit. For each preview:
Add a Title
Add a Description
Upload the MP3 file

✔ Add Reference Link Paste a link that relates to your soundkit (optional but recommended).

Then click Next.
Section 4: Licensing
This is the final step before publishing your sound kit. ✔ Toggle Buyer Download Option Enable or disable the download option if you want to offer the sound kit to buyers for free.

✔ Add License Fee Enter the price you want to charge for the sound kit license.

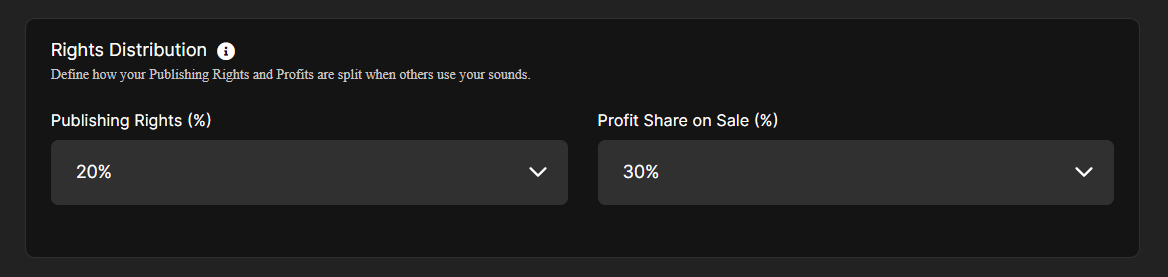
✔ Rights Distribution Add details such as:
Publishing Rights Percentage
Profit Share on Sales (if applicable)

Make sure all fields are filled correctly. Submit Your Sound Kit Once everything is complete, click Submit. Your sound kit will now be live on the Beat22 Sound Kits Marketplace for buyers to discover. You’re Ready to Sell! Follow this guide each time you upload, and you’ll continue building a strong catalog of professional sound kits on Beat22. Start uploading now.